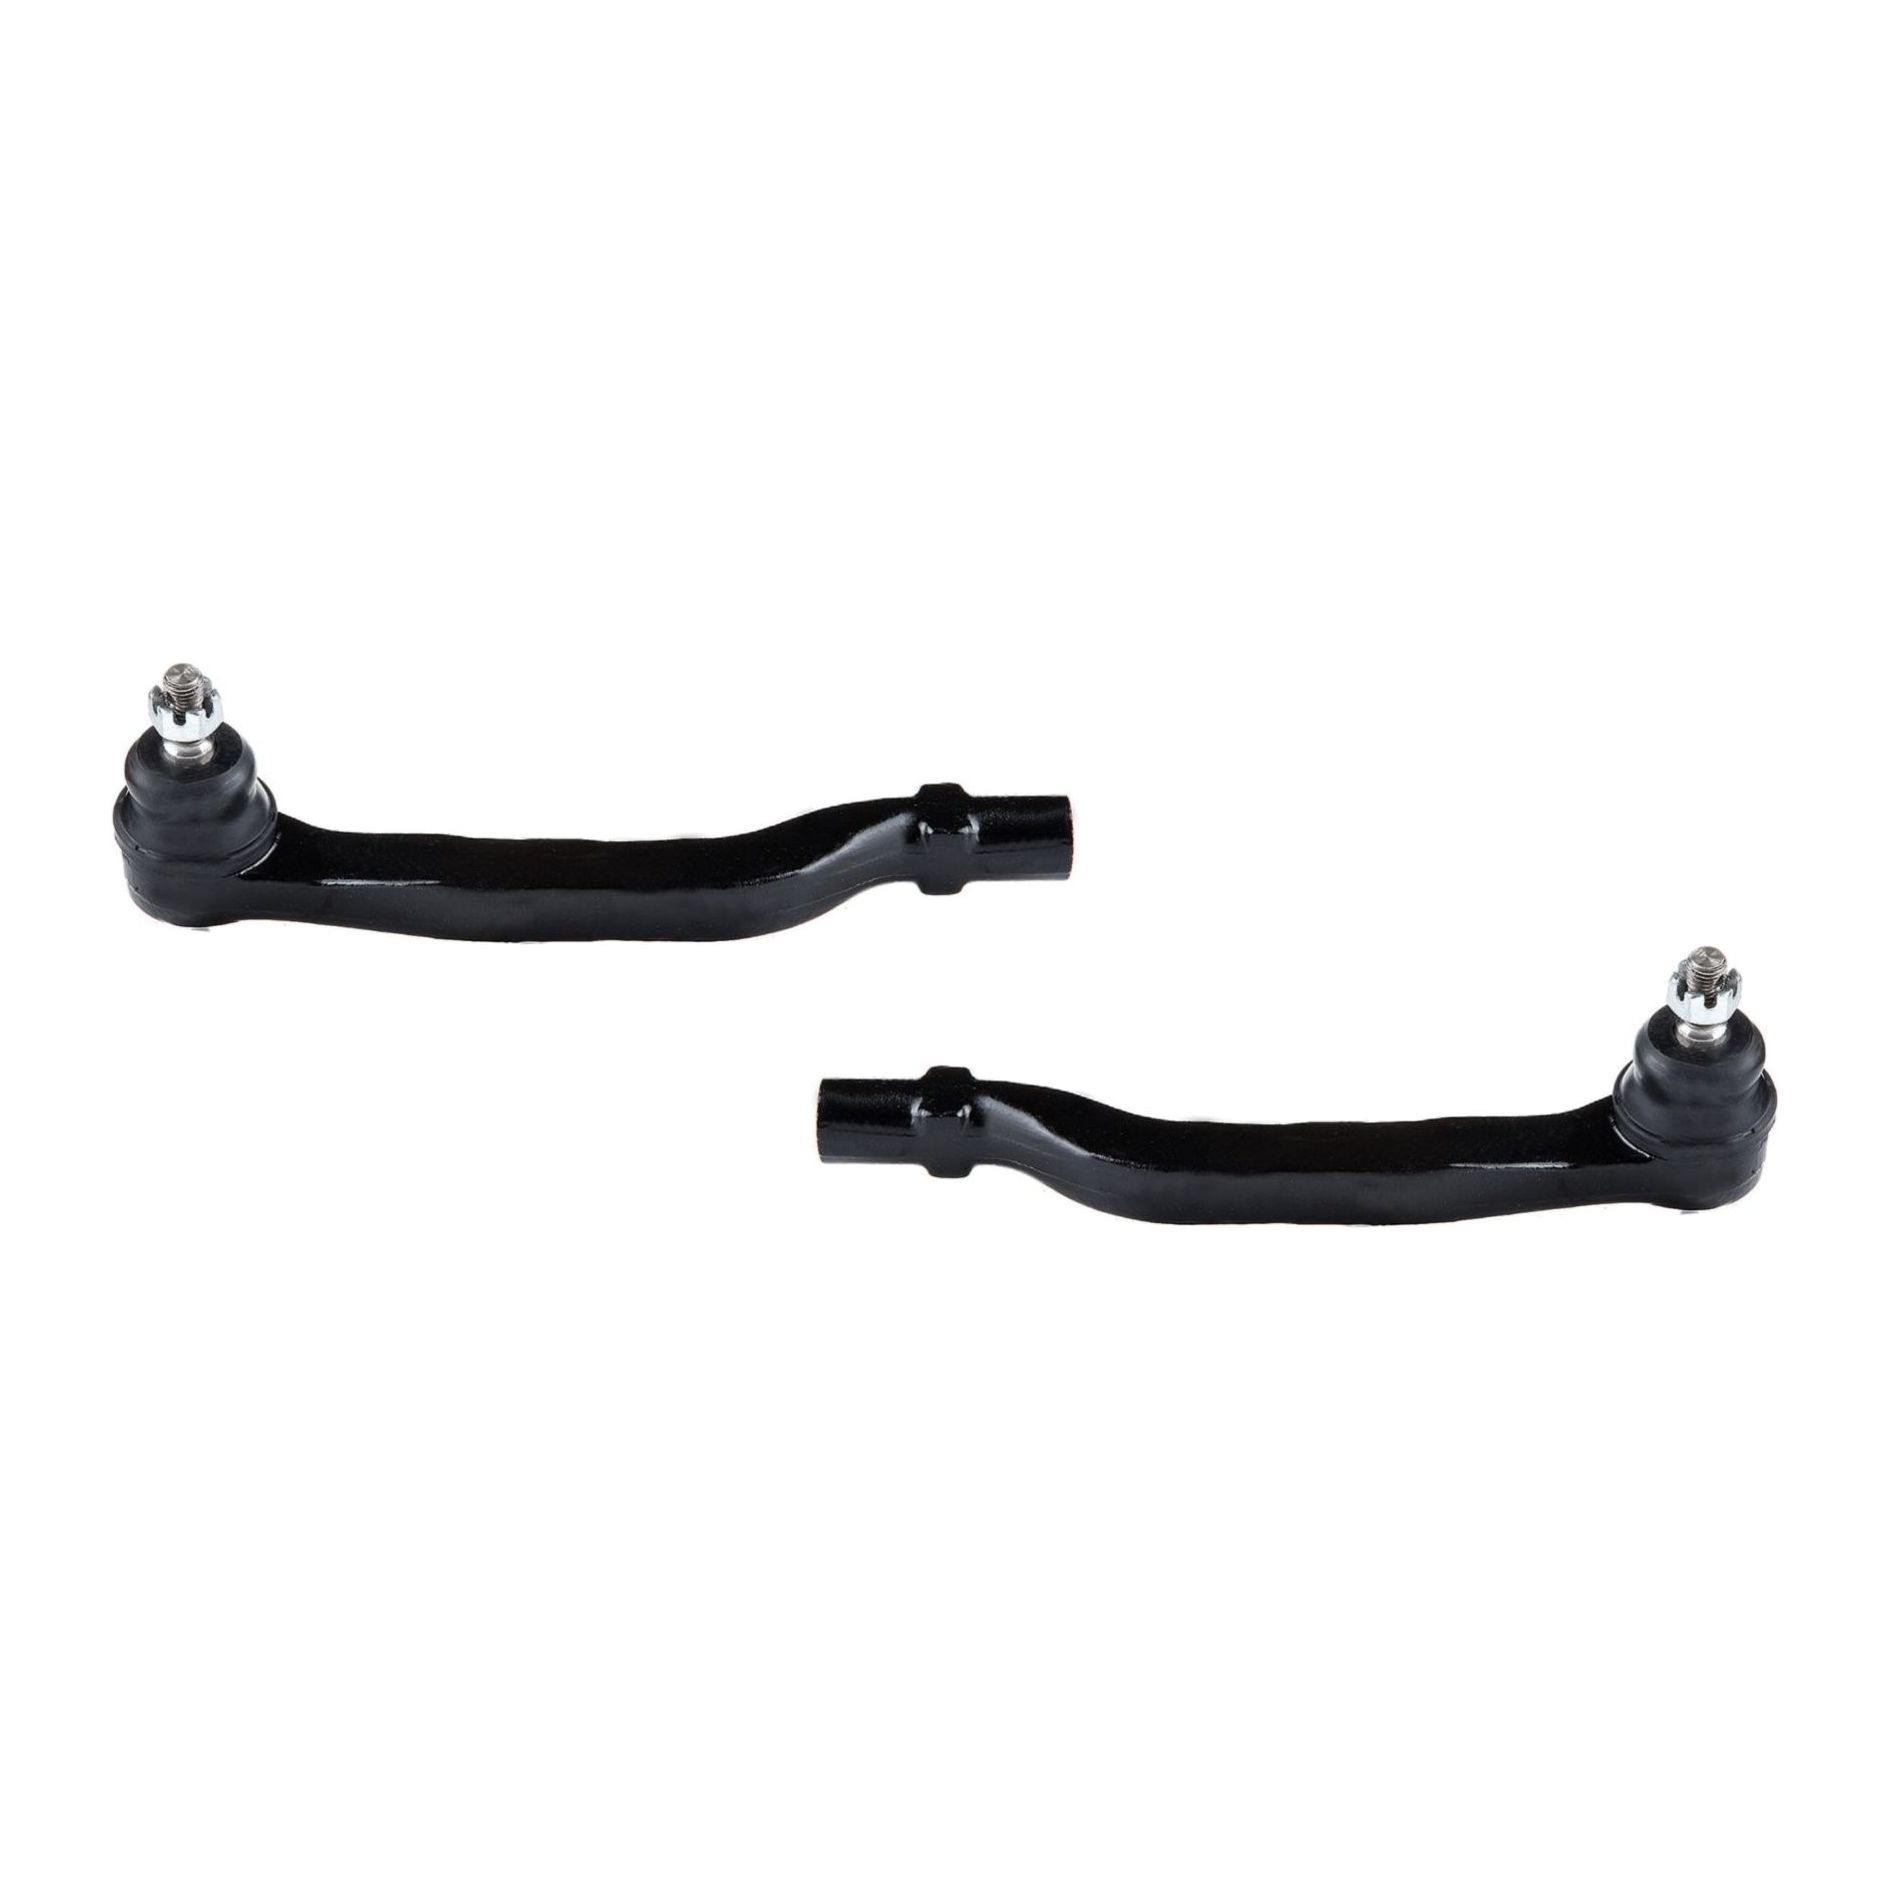
Fitting the Following vehicle:
2001-2003 Acura CL
1999-2003 Acura TL
1998-2002 Honda Accord
2.Replaces Part Numbers:
53560S84A01 ES3490 53540S84A01 ES3491
Package Includes:
1 x Part # Front Left Outer Tie Rod End
1 x Part # Front Right Outer Tie Rod End
Note
Although some parts have grease fittings, other parts are factory sealed, but do not affect the fit and quality of the parts
Please check above compatibility list to make sure it fits your vehicle
Tie-Rod End
Outer Tie-Rod End
Inner Tie-Rod End
Some inner tie-rod ends contain a bolt and bushing. These tie-rod ends are threaded onto the rack. Since the rack is connected directly to the tie-rods, the rack replaces the center link in a parallelogram steering linkage
Some inner tie-rod ends have a mirror-finished ball and a high-strength polymer bearing to ensure low torque, minimal friction, and extended life. A hardened alloy steel rod extends from the ball to the outer tie-rod end and provides maximum strength and durability
Tie-Rod End Replacement Guideline:
This useful tip applies to the exchange of tie rod ends and inner tie rods, which together form the so-called tie rod
Note: Cleanliness is extremely important when working on the power steering. Incorrect work and contamination can lead to leakage and, in the worst case, to failure of the steering assistance
1.Lift the vehicle and dismount the front axle wheels
2.Spray the fastening nut of the tie rod end with rust remover and leave it on for a few minutes
3.Dismount the front underride guard
4.Loosen the fastening nut from the tie rod and remove it completely
5.Remove the tie rod end from the steeringknuckle using an appropriate ball joint separator
6.Remove the clamp of the bellow on the steering gear
7.Push the bellow towards the tie rod end
8.Unscrew the inner tie rod from the rack
9.Clean the sealing face of the bellow at the steering gear
10.Clean the lug of the rubber contact surface of the ball joint in the steering knuckle
Note:Always use new self-locking nuts and bolts for a reliable repair
11.Screw the new inner tie rod into the rack and tighten it with the tightening torque that has been specified by the vehicle manufacturer
12.Mount the bellow and close the clamps with the appropriate special tool
Note:Incorrect mounting of the bellow can lead to corrosion of the rack: the steering gear starts leaking which can lead to a failure in the steering assistance
13.Secure the ball joint in the steering knuckle and mount the nut. Please observe the tightening torque suggested by the vehicle manufacturer
Note:During mounting, the ball stud should not turn within the ball joint. This can cause damage inside the ball joint and can lead to early failure
Tip:Secure the ball stud against twisting with a suitable tool
14.Mount the front underride guard
15.Mount the front wheels and tighten them with the tightening torque recommended by the vehicle manufacturer
16.Align the wheels and adjust them if necessary. Observe the vehicle manufacturer specifications
17.Perform a test drive
Frequently Asked Questions
(1).When to replace tie rod ends?
(2).Why should I get my tie rods inspected on a regular basis?
(3).Vibrations
(4).Shaking
(5).Wandering